


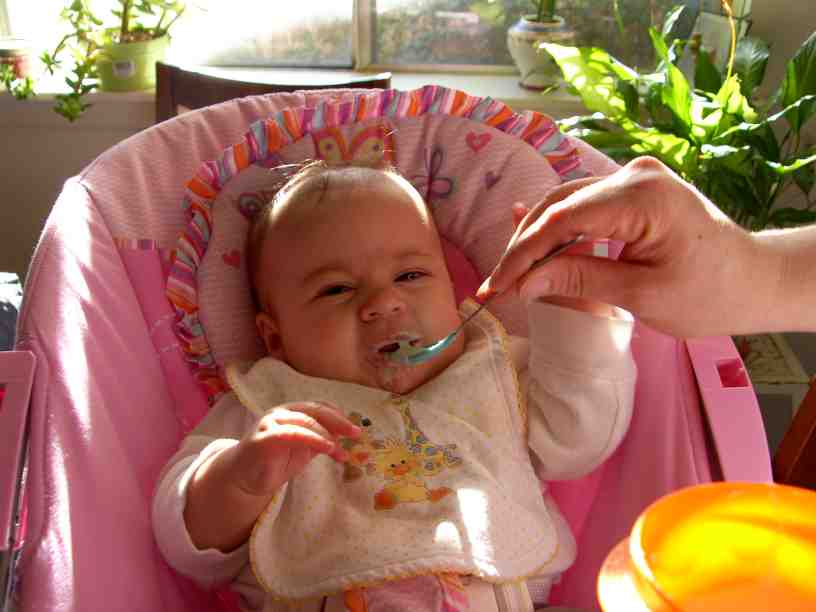
Maybe it’s because Ilana was our first that we I eagerly, like a child around a candle-alighted birthday cake, anticipated ushered in every milestone. According to what I read at that time, solid foods were an option when your child expressed interest in the parents’ food/plate. So of course, the day she knocked (spasm or deliberate action, it mattered not) a piece of bacon off of Ben’s plate, I rejoiced, so glad to start the next parent-child activity. In my research prior to this milestone, rice cereal was often suggested by others to be the starting food.
Ilana refused rice cereal, and a majority of the time, the soupy mess (flung about in protest) landed on her; we quickly learned that just as fruits and vegetables smelled and tasted better to us than the rice cereal, produce tasted better to our baby as well.

Maybe some of you think/thought this way, too: making my own baby food seemed laborious, but mostly, it intimidated me.
After a little research, I was amazed the simplicity of (truly!) making baby’s first foods. Knowing exactly what entered our baby’s body was so empowering. From an economical stance, home-making baby food accommodated our family’s budget. At the beginning stages of eating solids, I learned it isn’t so much about eating as it is about tasting, so a little bit of homemade baby food can actually last for several days.
We began with the simplest foods—bananas and avocados. I loved both these selections because there’s no ‘making’ required—they both can be easily mashed with a fork and then served. Whether at home or out, the biggest chore is disposing of the peel or saving half for later. Bananas are sweet like breast milk, avocados a little more bland like formula. They both mash to very creamy textures and (as with most homemade baby foods) liquidity can be adjusted by simply adding in some breast milk or formula. The real effort of solids began when we were ready to branch out to other foods.
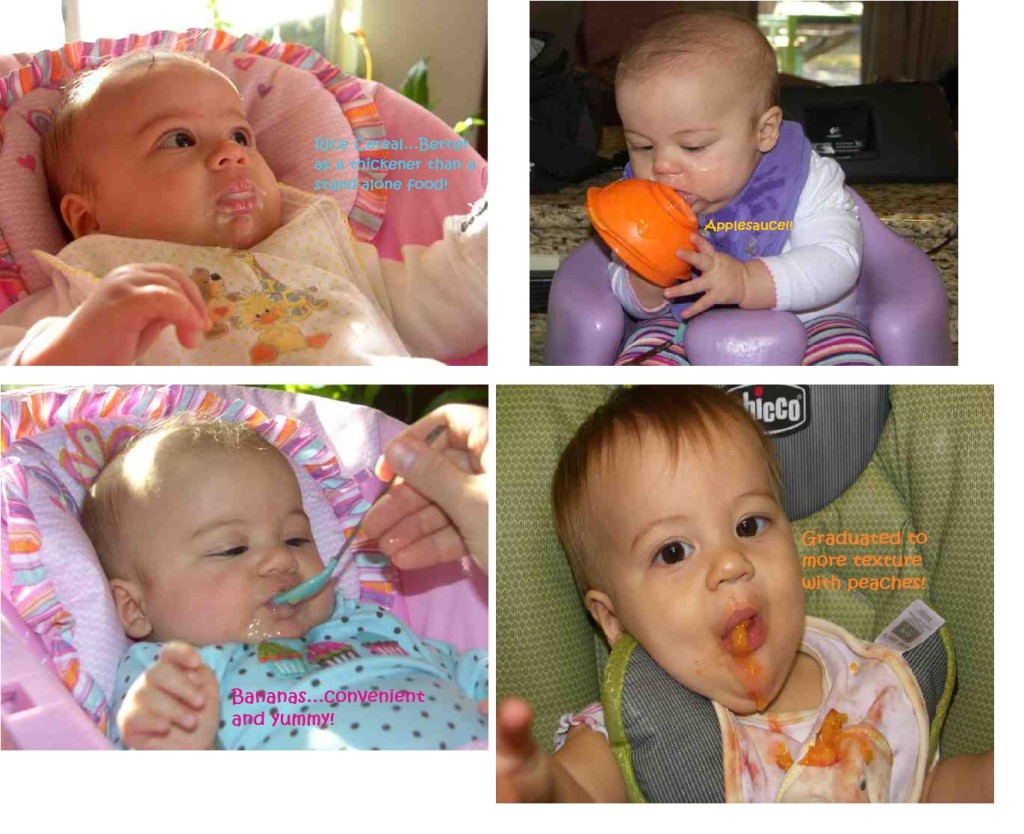
Between six and eight months, we progressed to those foods which require some effort and time to prepare and serve.
In our household, we have ZERO space for another specialized kitchen machine (okay…maybe a Vitamix, if you’re reading, Honey). Apples, peaches, carrots, peas, blueberries, and sweet potatoes can all be prepared the same way using common kitchen equipment you likely have already. You’ll need a peeler, cutting board, knife, small pot, strainer, spatula, fork, and a food processor (I am sure these cooked foods could be mashed by hand, but a food processor saves time and makes for evenly-textured food).

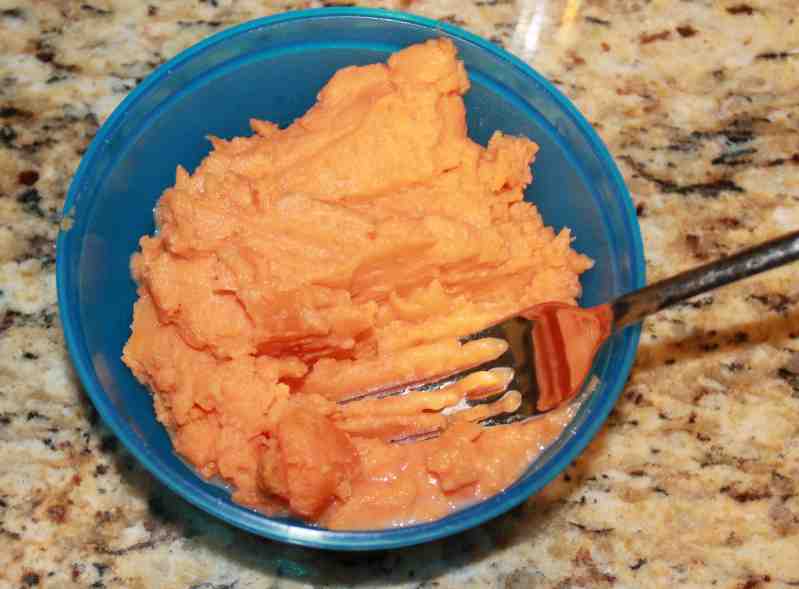
It’s likely your baby won’t eat the entire bowl, so have two bowls out, one for the feeding/tasting and another to put your leftovers in. For this post’s demo, I prepared sweet potatoes, the yield you see came from one small sweet potato.
How?
First peel and cut up your produce (apples, sweet potatoes, carrots, and peaches need to be peeled).

Place small chunks of food into the pot and cover with water, just to the top of the food. Bring the water and food to a boil, letting it cook until there’s hardly any water left and /or until you can easily pierce the food with a fork. If the food breaks apart when pierced, you’ve nailed the recipe so far!

Strain the food and place into the food processor. After it is pureed, check on the consistency, adjusting the texture with breast milk, formula, or rice cereal. Baby knows only the liquid diet of breast milk or formula; keeping that in mind, use creative license to create a consistency appropriate for your little critic. For serving temperature, follow baby’s lead. I remember some foods, like sweet potatoes, Ilana only showed interest in when they were warm.

Storing
Some parents prefer to use freezer trays (kind of like ice-cube trays) to store foods; we always just made a baby food and served it until it was gone. At the beginning stages (21 weeks – 8 months), we typically offered solid foods before a feeding time. She ate what she was interested in and then nursed or had a bottle. It takes kids an average of 10-15 times to try a new food before really determining whether they enjoy it or not. Sometimes babies have an allergy to a type of food; if you’re serving the same solid for several meals, it makes identifying the allergen fairly easy.
A few other tips:
*If you feel that your child is really enjoying a particular food, try mixing it up a bit—add a little cinnamon to the sweet potatoes, pears, or apples, for example. Equally fun, try mixing a couple of food together: pear-banana, peach-avocado, blueberry-banana…
*As soon as we went through these first common foods, I would keep an eye out for any of them that went on sale. If they were offered at a cheaper price…guess what Ilana enjoyed that week?
*For most of my solid starting, I rely on Dr. Sears. An informative FAQ section on solids can be found on his website, and I also love The Baby Book which, along with other parenting information, contains more extensive solids content than what is on his website.
*Experimentation is key—try out different foods and textures to nudge your baby into the world of eating.
It’s interesting and a bit exciting for me to think of what starting solids with Miriam will be like. From the first go-round, I walked away learning not to be in such a hurry to get her started with them, to wait for real signs she is ready. We’ll also probably bypass starting with rice cereal, having some on hand just to use as a thickener. One thing that will remain from our first experience: home-made baby food will be the route we take.


I have loved making my little guys food and really wish I would have done it with my daughter. You are right, it is so much easier than it seems! One thing though is that until they are one year breast milk or formula should always be offered before foods. It should remain their main source of nutrition. Kellymom has always been my breast feeding bible so I have included a link that talks about this.
http://kellymom.com/nutrition/starting-solids/solids-how/