


I love scrapbooking. Preserving memories on beautifully laid out pages with perfectly coordinated papers and accents is nirvana for my creative yet slightly OCD mind. I list scrapbooking as an interest or hobby when filling out any “about me” questionnaire. I spent an entire summer morphing our spare bedroom into a “craft” room, finally putting to use those hours spent pinning ideas for the ultimate scrapbooking retreat.
No one has to know that the last thing I actually scrapbooked was the three weeks I spent in Greece in college.
Well, it’s the last thing I started to scrapbook. I really will finish it soon! This DIY foldable scrapbook is a great solution if you are, like me, a perpetual procrastinating scrapbooker. Here’s why:
- It’s finite; you can’t keep adding pages so there really is an end in sight!
- It’s quick; it’s so cute that you don’t need to add extra stickers and accents!
- It’s versatile; create one for any occasion and use up all that paper that you’ve been storing for years!
- It’s give-able; makes a great gift with or without pictures!
- It’s inexpensive: I already had everything in my hoard/stash of scrapbooking materials!
Before you become overwhelmed by the directions, let me promise you that it’s easier than it looks! Once you figure out how to fold, cut, and glue, you just do the same thing six times. After gathering your materials, this scrapbook can be put together in about an hour. Let’s get started!
Materials
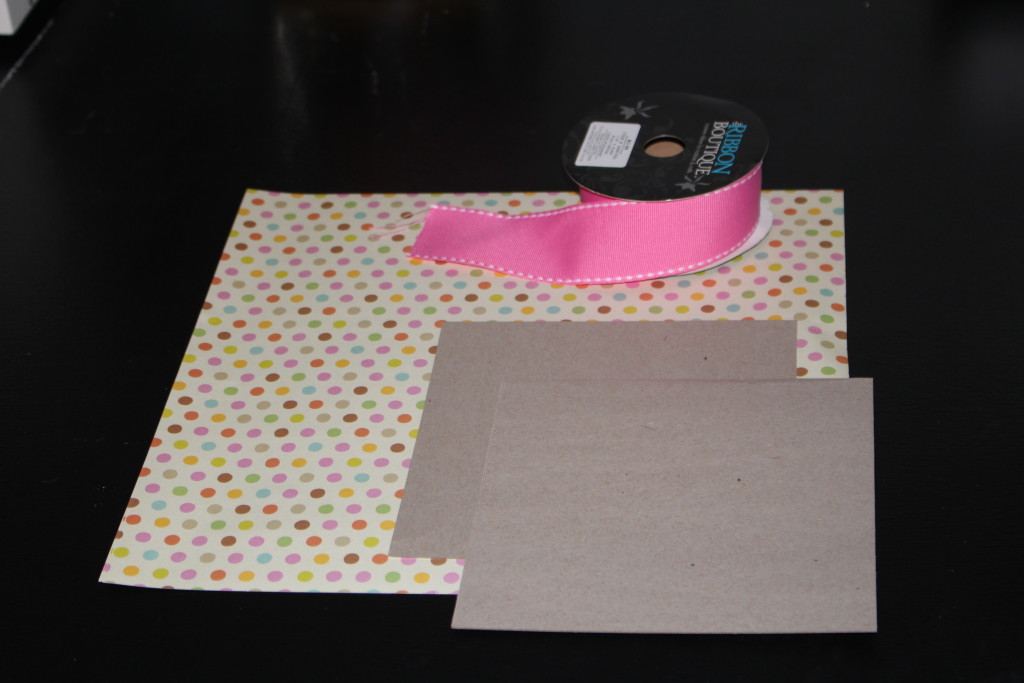
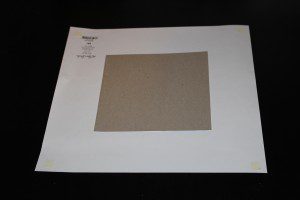
- 2 cardboard covers cut 6.5” square (I used a cereal box)
- 2 sheets scrapbook paper for covers (8.5 x 11 or 12 x 12 will work; it just needs to cover the cardboard)
- 6 sheets 12” x 12” cardstock for pages
- 6 sheets 12” x 12” cardstock or scrapbook paper for inside pages, cut to 11” square
- about 1 yard ribbon, at least ½ inch wide
- Glue sticks
- Hot glue gun (optional)
- Paper cutter or scissors and ruler
- Popsicle stick or boning tool to make sharp creases
A note about choosing paper: cardstock is the best choice for making the pages because these will be folded a lot and need to be sturdy. The paper for the insides and cover can be either cardstock or lightweight scrapbook paper.
The possibilities for this book are endless. Literally. Actually constructing the book took a little over an hour. Choosing paper took over two hours because I just couldn’t decide what I wanted the feel of my book to become. You’ll need two different designs of paper, a pattern and a coordinating solid or two coordinating solids. I had to choose some matching patterns because I didn’t have six sheets of any one pattern on hand. Be creative, use what you have, but don’t let this step overwhelm you! I decided on a summer inspired scrapbook with white cardstock pages and pink, blue, and yellow plaid inside.
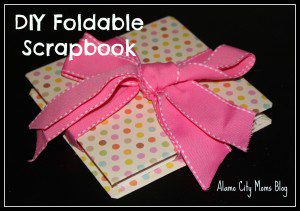
Here’s a preview of the final product:
Directions
To create the scrapbook covers, you will need 2 pieces of cardboard (6.5” square), 2 sheets lightweight paper (12” square), popsicle stick, and a glue stick.
- Place one piece of paper face down with one piece of cardboard in the middle. Line the pattern up as needed.
- Fold the corners of the paper to the center of the cardboard and glue. Use the popsicle stick to make sharp creases.
- Fold the sides of the paper to the center of the cardboard and glue, again making sharp creases. The cardboard should be completely covered on the front but may have some gaps on the back.
- Repeat with remaining paper and cardboard to create second cover. Set both covers aside.
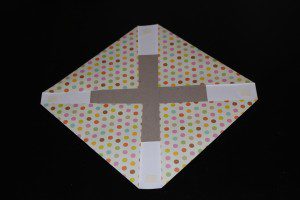
To fold the scrapbook pages, you will need 6 sheets of cardstock (12” square) and your popsicle stick. Sharp creases are very important for the pages, so use this tool on every fold you make!
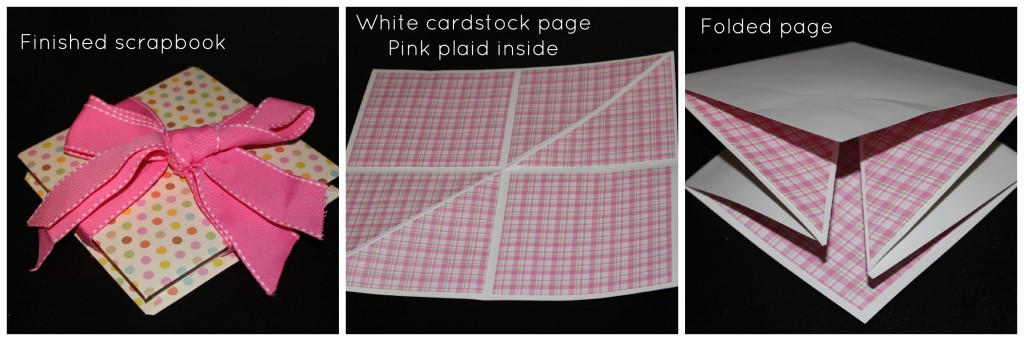
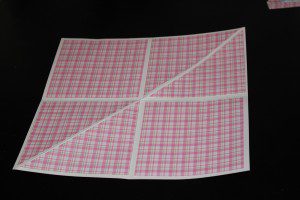
- Fold one sheet of cardstock diagonally. If only one side of your paper is patterned, begin with the patterned side down so it will be the front of your page. Since my cardstock is white, I took pictures with patterned paper for a contrast.

- Open back to square and turn over (patterned side up). Keep the fold line diagonal.
- Fold the bottom edge to the top edge.
- Open back to square and fold right edge to left edge.
- Open back to square. You should have four quadrants, two of which are bisected by a diagonal. (And you thought you’d never need geometry!)


- Repeat steps for the remaining 5 sheets of cardstock.


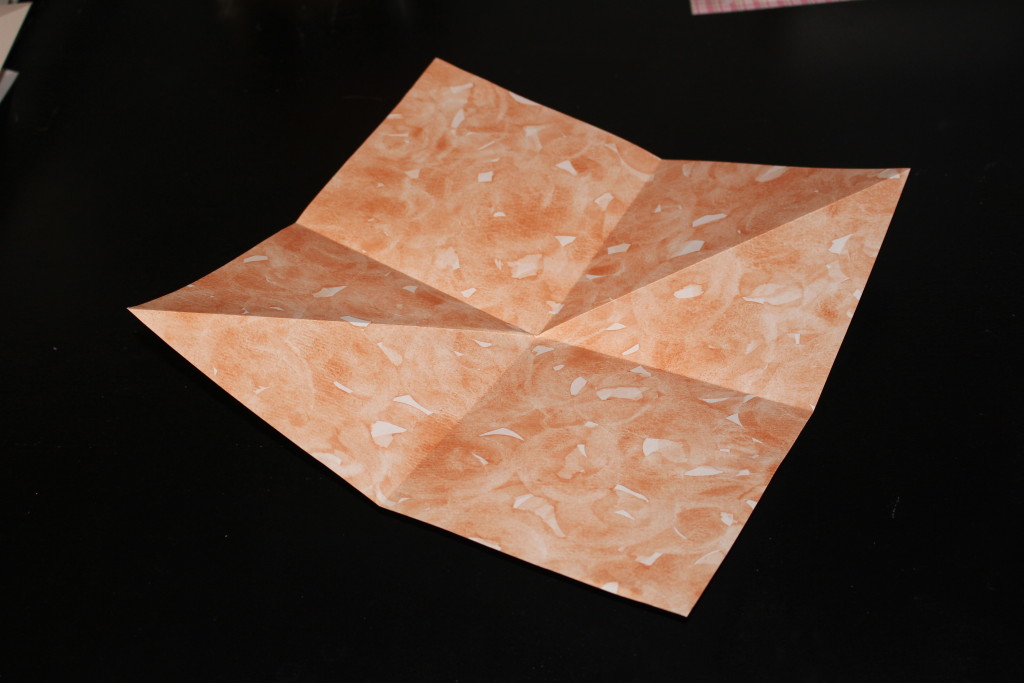
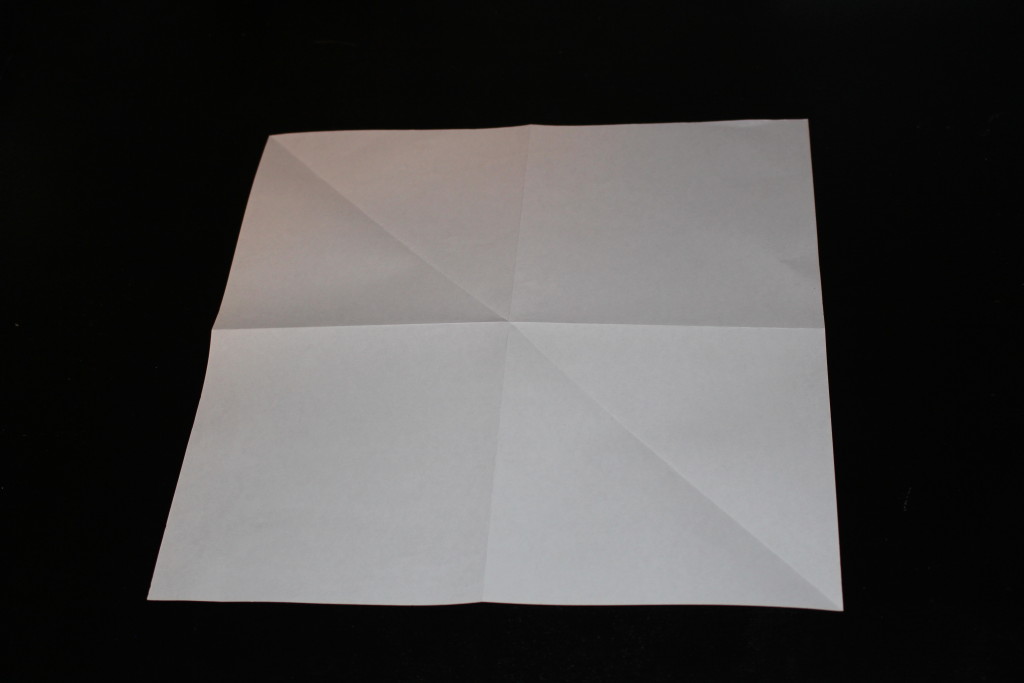
If folded correctly, the pages should have the pattern on the inside.

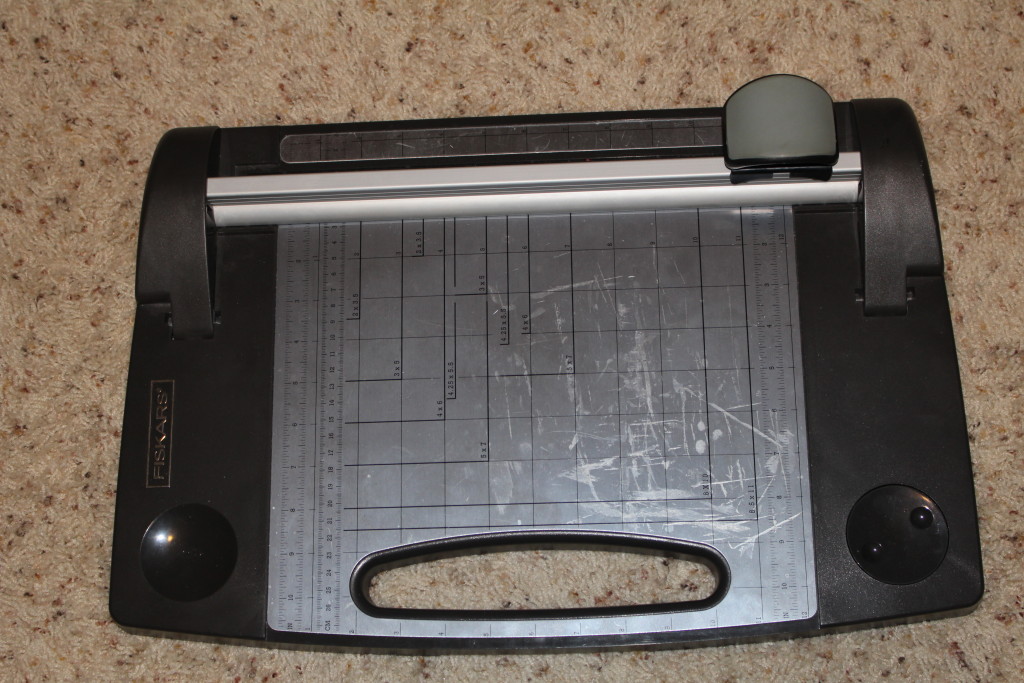
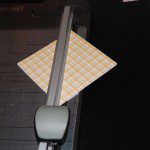
To create the inside of the pages, you will need the 6 sheets of folded cardstock, 6 sheets of patterned paper, glue stick, and a paper-cutter (or scissors and a ruler). I highly recommend using a paper-cutter with a built-in ruler guide for this step as it will be more accurate and save you tons of time! I purchased this bad boy from Wal-Mart about eight years ago; one DIY wedding, one college career including infinite craft projects for an elementary education degree and sorority house, several years in the classroom and a few baby showers later, it’s still going strong with the original blade! Moral of the story: a good paper-cutter is worth its weight in gold.
- Cut the patterned paper to 11” squares.
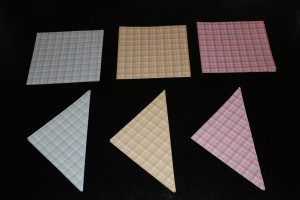
- Cut the 11” squares into four 5 ½” squares each (24 squares total). Set aside 12 of these.
- Cut 12 of the squares into triangles by cutting on the imaginary diagonal line.
- You should now have 12 5 ½” squares and 24 triangles.
- Glue the triangles and squares to the folded pages. If using patterned card stock, you will glue on top of the pattern. Pay attention to your pattern if you need to line up stripes, etc.
- Fold the pages back together so the glued triangles and squares are on the inside.

To assemble the scrapbook, you will need the two cover pieces, ribbon, folded pages, and glue. This is where you may want to use a glue gun. If you used different patterns for the insides, decide how you want your finished scrapbook to look. You’re going to end up with a book you can read forwards then backwards, so I chose to have the pages go pink, blue, yellow (forwards), pink, blue, yellow (backwards). When I glued them together I had to put them in this order: pink, pink, blue, blue, yellow, yellow. When you glue, the first, third, and fifth pages will be the “forwards” part; the second, fourth, and sixth pages will be the “backwards” part. Play with the arrangement before you glue!
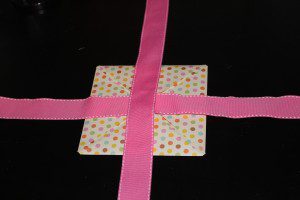
- Cut the ribbon in half.
- Place the back cover on the table face down. Glue the ribbon to the inside of the cover to create a plus sign. Set aside.
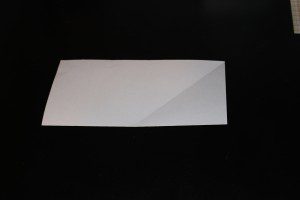
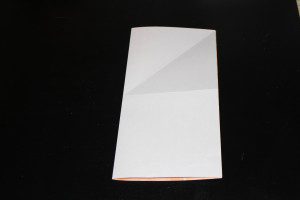
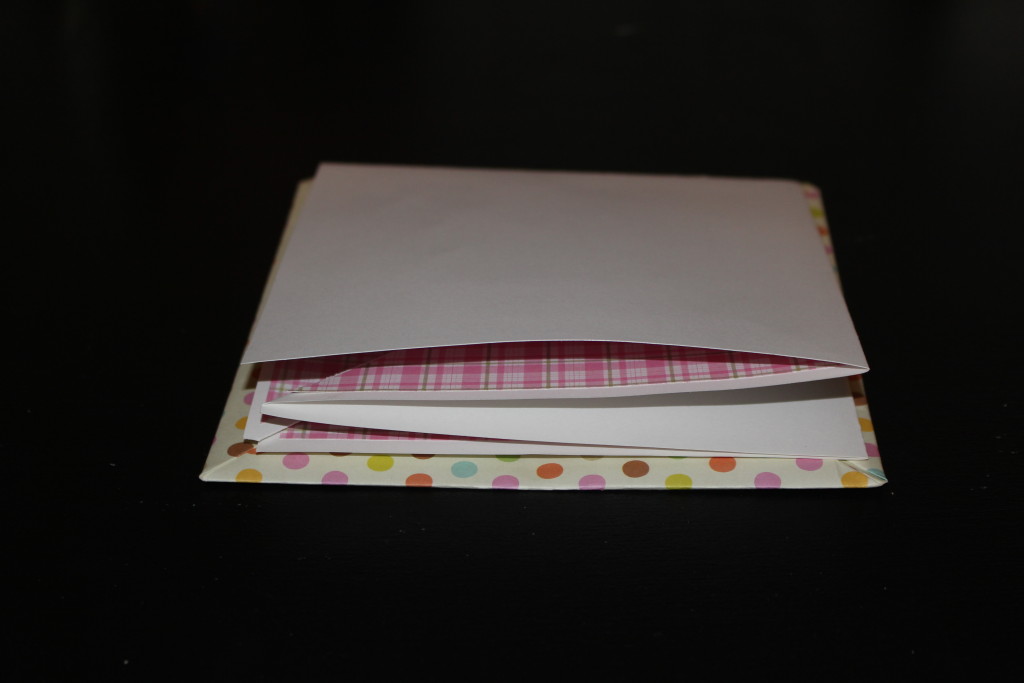
- Place the front cover on the table face down. Place your first page on the cover with the closed corner in the top right, then glue to the cover. Place your second page on top of that with the closed corner in the bottom left, then glue. Continuing alternating pages until all are glued together. Line the pages up carefully as you glue so your book will be straight.
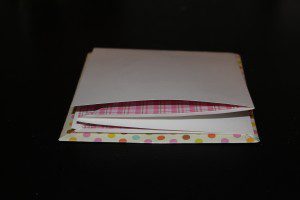
First page; folded corner is top right 
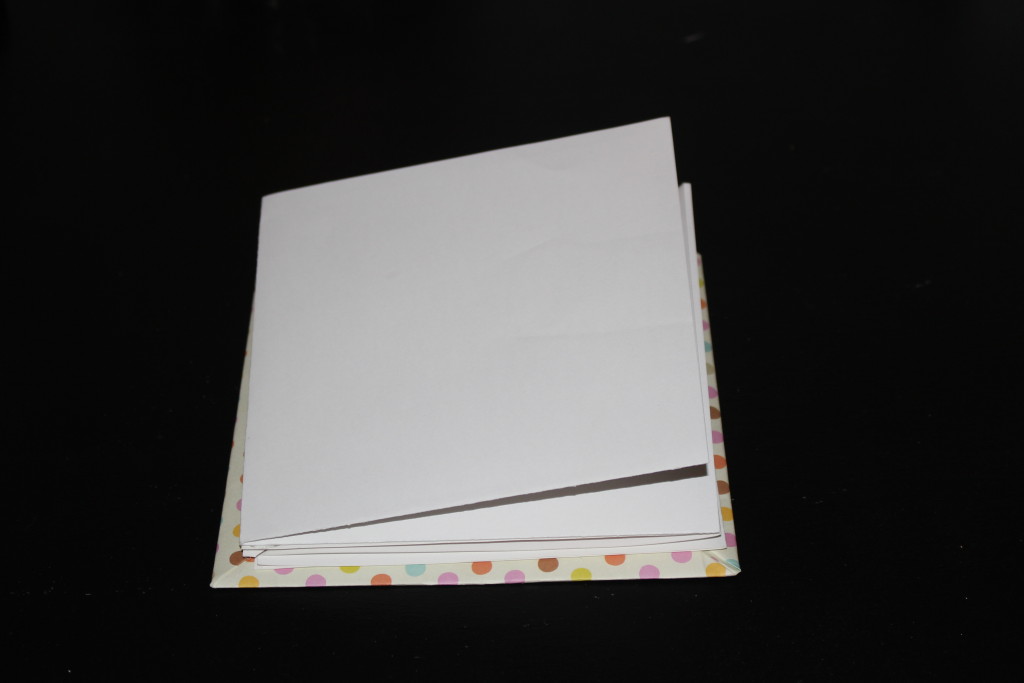
Second page stacked on top of first page; folded corner is bottom left - Glue back cover (ribbons on the inside) to the top of the last page. Be sure to line up the front and back covers carefully!
- Flip your book over and tie the ribbons in any way you wish to close the book.

Your beautiful book is finished!

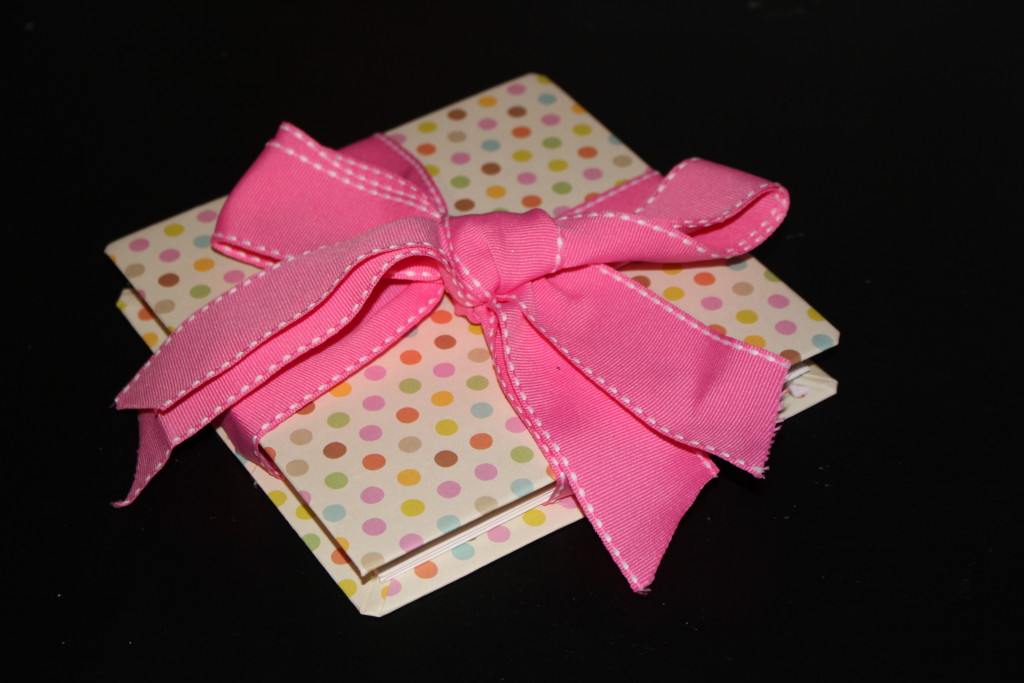
Voila! Your book is ready to give away or add pictures. A few tips about completing your book:
- The book will open from the bottom right corner. Turn three pages from the bottom right corner, flip over the book, and turn the remaining three pages from the bottom right corner.
- Keep it simple. Don’t crowd the pages, but let the creativity of the book speak for itself. You’ve already worked hard on this project!
- Use the squares for pictures and the triangles for journaling or smaller items like ticket stubs.
- Include larger memorable items (such as postcards) by carefully cutting where the fold in the page would be. For example, attach a picture across two triangles by cutting on the diagonal fold. You could also fold it and glue just one part in the book.
- Mark the corner on the cover that opens with a sticker or embellishment to make it easier to use.
- Change your papers to create a foldable scrapbook for any holiday, vacation, birthday, or special occasion!
What are you waiting for? Go dig through that scrapbook paper that’s just begging to be used!


")


